
For our film opening we used a vast range of technologies that were both familiar and new to us. These are the technologies we used - the advantages, disadvantages, what we learnt from them and any solutions we came up with.
Cameras
Canon Legria:
 |
| Canon Legria |
Advantages:
• Lightweight and portable - easy to carry during handheld shots
• Shoots in HD - visually pleasing for our audience to look at
• Easy to use - had no trouble with it on set
Disadvantages:
• Recorded onto tape which had to be captured onto our editing suite - this was time consuming
• The shotgun mic attached to the camera picked up the sound of the tape moving - this affected the sound we recorded both outside on the street and inside Gavin's room.
• Lens was not wide enough - Our location, Gavin's Room, was quite small so we could not capture the wider shots we needed
∆ As a solution to these problems we used the Canon 600D ∆
What I learnt:
• How to capture taped footage onto editing suites - we captured using Adobe Premiere Pro
• How to use manual focus on the Canon Legria - a small scroller by the lens
Canon 600D:
Canon 600D:
Video showing the Canon 600D in 360º
This was my camera. The Canon 600D is an HD, DSLR camera; we used an 18-55mm kit lens with it.
Advantages:
- Higher image quality due to the SLR lens
- Easily adjustable settings - this came into use when we needed manual exposure for the montage
- Wide lens - this meant we could capture the wider shots we needed in Gavin's room
Disadvantages:
- Different quality to the Canon Legria - This made it hard for us to edit between the two cameras as each camera's footage looked so different. Here is a comparison:
 |
| Shot of Michael on the Canon Legria |
 |
| The same shot on the Canon 600D, it is much higher quality |
Although this was my camera I still learnt new things about it during this project. I learnt:
- How to adjust the manual exposure for the montage
- That it is incredibly difficult to cut between footage filmed on two different cameras as it is easy to tell the difference
∆As a solution to the grading and editing problem we used the 600D for every shot to avoid continuity errors∆
Lighting
 |
| Our lighting setup |
Advantages:
- Shooting the majority of our footage indoors meant we were in a controlled environment and had fewer continuity issues because all the shots were lit in the same way.
- We had complete control over what we wanted the lighting to look like as opposed to shooting outside where we used available light.
Disadvantages:
- Made the room extremely hot - this was an issue because we couldn't open windows and doors to cool down the room in case sounds from outside were picked up by the microphones.
What I learnt:
- How to use a professional lighting kit
- What a 3-point lighting system is and that it is a suitable lighting setup for naturalistic films.
Tripod
 |
| Camlink - TPPRE-27 Tripod |
Advantages:
- Gave us really steady shots which made our film opening look more professional
- Portable - when taking our kit outside to shoot on the street it was easy to carry.
Disadvantages:
- Produced shaky tracking shots - the best equipment to use for tracking shots are Steadicams and Cranes
 |
| Examples of our shaky tracking shots |
Microphones
To record all the audio in our film opening we used 3 different microphones. All of them recorded good, high quality audio and we had very few problems. All of the group had had experience using these microphones because we used them for our previous media projects such as our kid's TV trailers and our prelims. This is an audio track of our opening to demonstrate what we used the microphones for:
To record all the audio in our film opening we used 3 different microphones. All of them recorded good, high quality audio and we had very few problems. All of the group had had experience using these microphones because we used them for our previous media projects such as our kid's TV trailers and our prelims. This is an audio track of our opening to demonstrate what we used the microphones for:
All the audio for Michael
Shotgun Microphones:
 |
| Canon DM-50 |
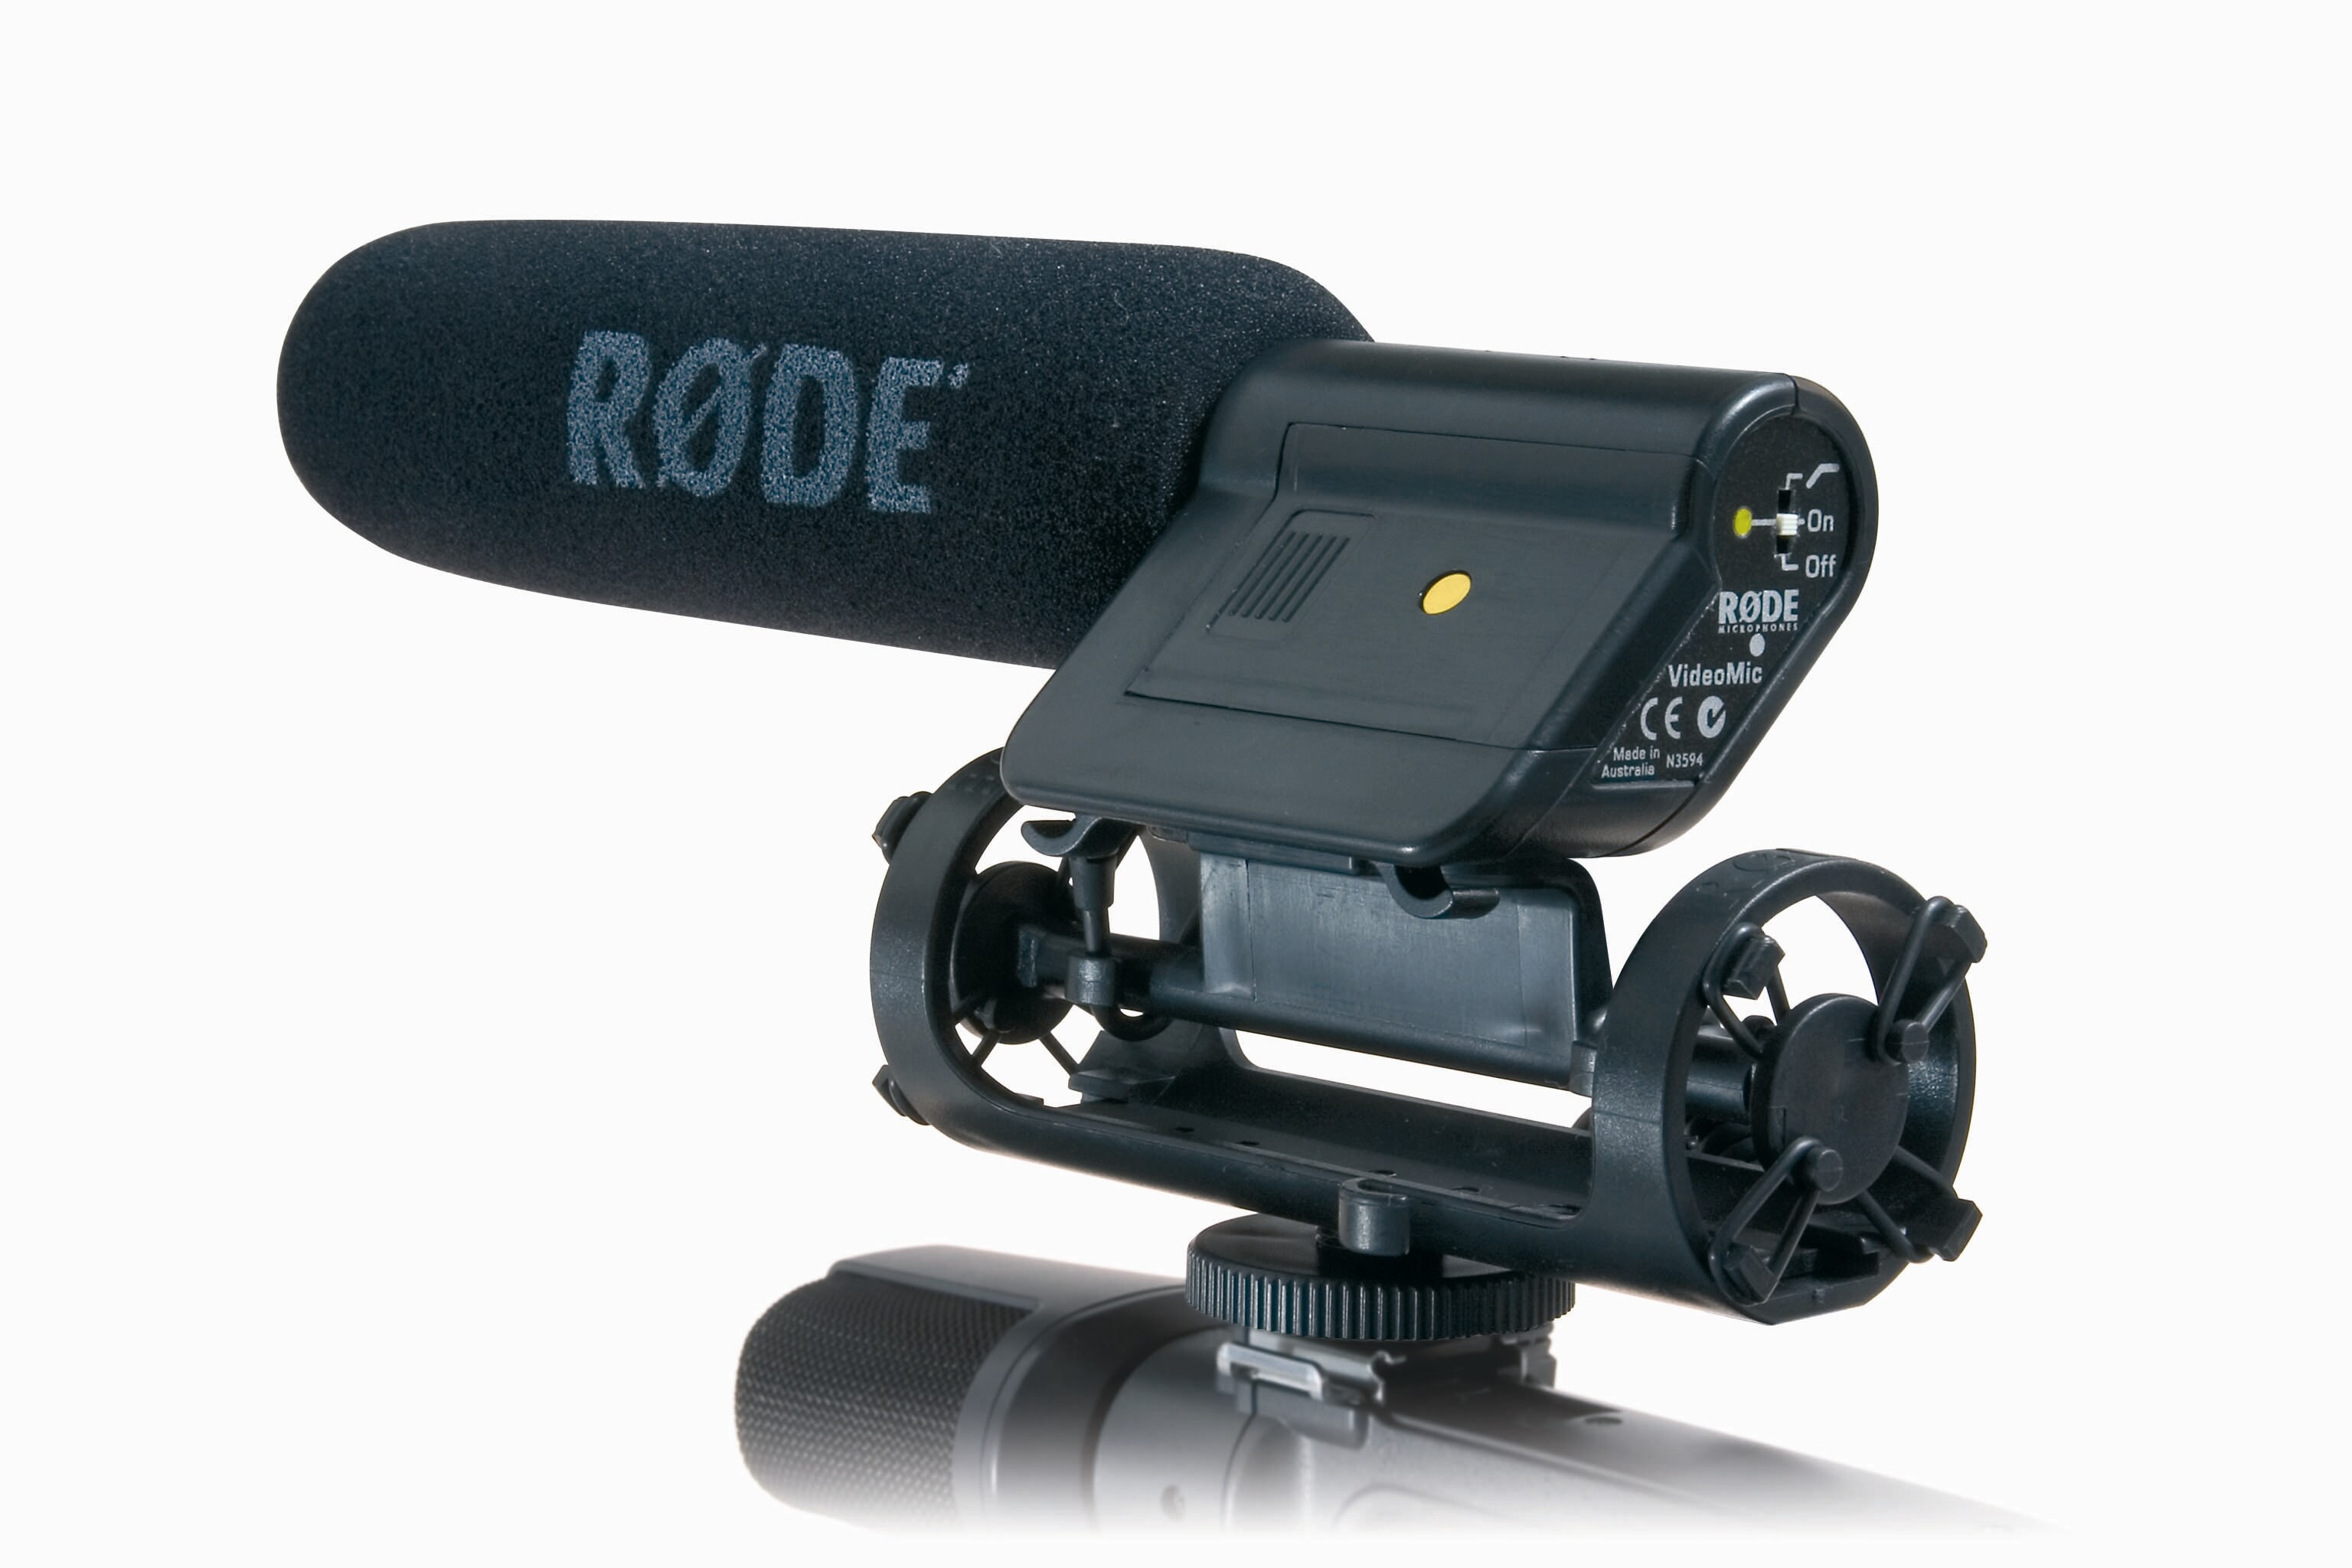 |
| RØDE Video Mic |
We used the Canon DM-50 mic with the Canon Legria and the RØDE Video Mic with the Canon 600D.
Advantages:
- Good sound quality
- Easy to use
- Fitted to camera so no need for boom pole
Disadvantages:
- Picked up background noise when outside eg. traffic and planes
- Was sometimes too far away from the actors to pick up good dialogue
Blue Yeti Mic:
 |
| 360º view of Blue Yeti Mic |
We used this to record our own acoustic version of 'Ramona' by Beck. This was our opening's soundtrack:
Adobe Suite
During post-production we used Adobe Premiere Pro, After Effects and Audition. All of us had experience with Premiere pro and Audition but only one of us knew how to use After effects.
Adobe Premiere Pro
We used this software to edit and grade our film opening. For grading we used the Three Way Colour corrector tool and contrast and brightness, I had not had much experience with grading so this was a huge learning experience for me; the grading tools were easy to use. Editing involved organising our footage into bins and dragging and cutting it onto the timeline, we aimed for a simple edit which made editing quick and easy.
 |
| Three way colour corrector tool |
 |
| Adding a cross dissolve effect onto the text |
We used this software to record the music soundtrack for our opening: 'Ramona' by Beck. I had had minimal experience with Audition but found it simple to use. After setting up a new audio file and plugging the mic in all I had to do was press record then export it straight into premiere pro.
 |
| Gavin recording the soundtrack using Adobe Audition |

This was a software that was almost completely new to me but after some tutorial and practice I could create basic integrated titles. Creating integrated titles takes a long time because you have to edit it frame by frame but I was always pleased with the end result. Adjusting each keyframe was sometimes complicated but I always had help if I needed it.
 |
| An example of the frame by frame editing needed to create integrated titles |
Web 2.0
We took full advantage of what the recent rise of Web 2.0 had to offer us - using social media and hosting websites.
Facebook
We created a group page and a group chat on Facebook where all four of us could talk about our project and delegate tasks. For example over the weekend we decided to do some research and planning so we each volunteered to do a post each.
Youtube
We used youtube to upload our Prelim, Test Shoot, Rough Cut and Final Cut of our opening. This way if we needed to view it at home we could. It also meant that we could share it with our friends and get audience feedback.
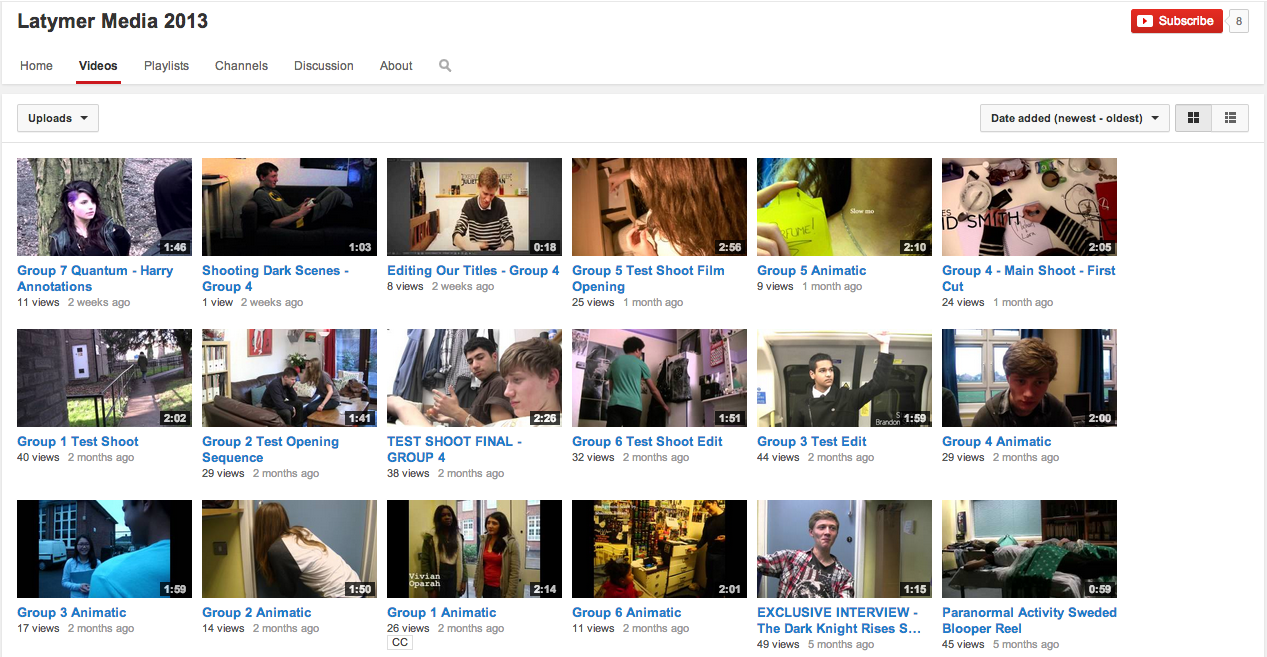 |
| Our Youtube Channel homepage |
Google Drive

When writing the scripts and creating shootboards we used google drive, this meant that we were all able to work on the same document at once and could discuss it with each other in the group chat next to the document.
Reflections
By the end of the project all of our group knew how to use all of the equipment and software. Having gone from hardly knowing anything to having solid skill bases in everything shows how much we learnt during construction. In hindsight I would have looked up some more advanced tutorials on youtube about the Adobe Suite and our cameras to further our creative boundaries.
Reflection on shooting dark scenes - video:
No comments:
Post a Comment